As I am still fairly new to this whole blogging thing and really don't know too much about what I am doing. It's really a crazy mess that I have gotten myself into. But I am learning a lot about html . SO, if you see some

Thursday, March 31, 2011
Please Bare With Me...
I am trying to change the look of Meal Makin Momma.
As I am still fairly new to this whole blogging thing and really don't know too much about what I am doing. It's really a crazy mess that I have gotten myself into. But I am learning a lot about html . SO, if you see someunusual WEIRD things going on here, just know that I am in a process and one day I will be happy with the way things look, and that I'm learning.
As I am still fairly new to this whole blogging thing and really don't know too much about what I am doing. It's really a crazy mess that I have gotten myself into. But I am learning a lot about html . SO, if you see some
Tuesday, March 29, 2011
Toasted Pecan Rice
I've really been wanting to add a little spunk to a side of rice for a while, Plain rice just isn't cutting it any longer. And this Spunked Up Rice is good!
Preheat oven to 400.
Servings: 3
To adjust the serving size go by the directions on your rice.
Ingredients:
2 Tablespoons Butter
1/2 cup Chopped Pecans
2 cups Chicken Broth
1 cup Rice
Melt butter in a small sauce pan.


Prepare rice as directed on rice packaging using the same small sauce pan without rinsing.
When the rice is cooked mix in the toasted pecans and serve with this "Gourmet" Salmon.

"Gourmet" Salmon
Now, I am all but gourmet but this salmon is SO gourmet... meaning it is SO SO SO delicious! But oh so simple and quick! Really, give it 15 minutes to be on your plate.
Ingredients:
Salmon ( I buy this individually wrapped "steaks")
Fish & Seafood Seasoning I HIGHLY recommend Spade L Ranch. In my area I find it in Smiths or Albertsons
Sesame Seed Oil (near the asian food in any grocery store)

Here is a link to find this amazing seasoning in your area. No, I'm not being reimbursed at all for this I just REALLY like every one of their seasonings! Click here to find it Spade L Ranch Seasonings

Season one side of the salmon. With this seasoning it takes about 1 1/2 Tablespoons. Really just a guess though.


Thanks!
Tuesday, March 22, 2011
Orange Chicken
Okay, I was standing in my kitchen last night wondering what in the world I was going to make for dinner. I didn't want one of the usuals that I always make. I wanted something new I wanted something with fllaaavvoor... I wanted Orange Chicken!
So what did I do? I got on my favorite recipe website Tasty Kitchen and found me a flavor packed recipe.
And look! There was a blog link attached to the recipe so CHECK IT OUT... Better Than Takeout Orange Chicken. I don't know about you but when I think of Asian food itkinda intimidates me, okay okay it really intimidates me. No need to be scared with this one, it's easy shmeazy! And it has "normal" ingredients, meaning I had almost everything in my house and what I didn't have I improvised.
I always have ginger seasoning in my spice cupboard but must have ran out. Cause I didn't have any so I just left it out, I think it's needed though and I'm sure fresh ginger root would be best like the recipe calls for. I didn't have panko crumbs either, so I used flour instead. The chicken turned out great and even had a good crunch but the panko would have a better crunch.
Now, I have a confession to make... I have a problem... dun dun duuuunnnn... I tend to add more of my favorite ingredients/spices than recipes call for. I do this all the time and sometimes it gets me into trouble. I added WAY TO MUCH Orange Zest :-( My husband couldn't get past my orange flavoring... So I had to confess to him my problem.
He fixed his plate by putting Worcestershire Sauce on his orange chicken Y U C K uggh, SO weird! (That's how he "fixes" anything he doesn't like.)
It really wasn't t h a t b a d but next time I make this recipe, and I will make it again and again and probably again and again I will refrain and just use one tablespoon of orange zest and show my silly husband that YOU DON'T PUT WORCESTER ON ORANGE CHICKEN!
So what did I do? I got on my favorite recipe website Tasty Kitchen and found me a flavor packed recipe.
And look! There was a blog link attached to the recipe so CHECK IT OUT... Better Than Takeout Orange Chicken. I don't know about you but when I think of Asian food it
I always have ginger seasoning in my spice cupboard but must have ran out. Cause I didn't have any so I just left it out, I think it's needed though and I'm sure fresh ginger root would be best like the recipe calls for. I didn't have panko crumbs either, so I used flour instead. The chicken turned out great and even had a good crunch but the panko would have a better crunch.
Now, I have a confession to make... I have a problem... dun dun duuuunnnn... I tend to add more of my favorite ingredients/spices than recipes call for. I do this all the time and sometimes it gets me into trouble. I added WAY TO MUCH Orange Zest :-( My husband couldn't get past my orange flavoring... So I had to confess to him my problem.
He fixed his plate by putting Worcestershire Sauce on his orange chicken Y U C K uggh, SO weird! (That's how he "fixes" anything he doesn't like.)
It really wasn't t h a t b a d but next time I make this recipe, and I will make it again and again and probably again and again I will refrain and just use one tablespoon of orange zest and show my silly husband that YOU DON'T PUT WORCESTER ON ORANGE CHICKEN!
Friday, March 18, 2011
Look Who Vistited Us...
Something you didn't know... we have a Lucky (not so little) Leprachaun in our family.


How fun is this!
Thursday, March 17, 2011
Ummm Ummm Chewy Granola Bars
I LOVE THESE BABIES!
I have tried a few different granola bar recipes and this is by far the tastiest and easiest I have come up with. I love that you can add just about anything your imagination can come up with too... So much fun and pretty healthy snack.

I used white chocolate in these. I must say I like milk chocolate much more.
You will need:
4 1/2 cups rolled oats
1 cup all-purpose flour or whole wheat flour
1 teaspoon baking soda
1 teaspoon vanilla extract
2/3 cup butter, softened
1/2 cup honey
1/3 cup packed brown sugar
2 cups your favorite chocolate chips
1 cup your favorite peanut butter
Preheat oven to 325.
Mix together all ingredients except chocolate chips. I've found that a large metal spoon works great to work the honey and peanut butter into the dry ingredients. Once it is well incorporated stir in the chocolate morsels.
Generously spray a 9x13 pan and firmly press mixture into the pan. Bake for 18-20 minutes or until light brown. It must begin to brown.
Let cool for about ten minutes or so and cut into bars.
ENJOY!
Tuesday, March 15, 2011
Shephard's Pie
This is an amazing dish packed with tons of flavor and deliciousness. Plus its pretty healthy and very easy to make. Can't get any better than that!
You will need:
6 large potatoes
1 lbs ground beef
garlic powder
pepper
salt
3 Tbs. butter
1/4 cup milk
3 cups frozen green beans
2 cups frozen corn
2 cans tomato soup
1 cup cheese, shredded
Preheat oven to 400.
Begin by cubing the potatoes then place in large pot of water on stove and bring to boil.
Brown the ground beef with seasonings.
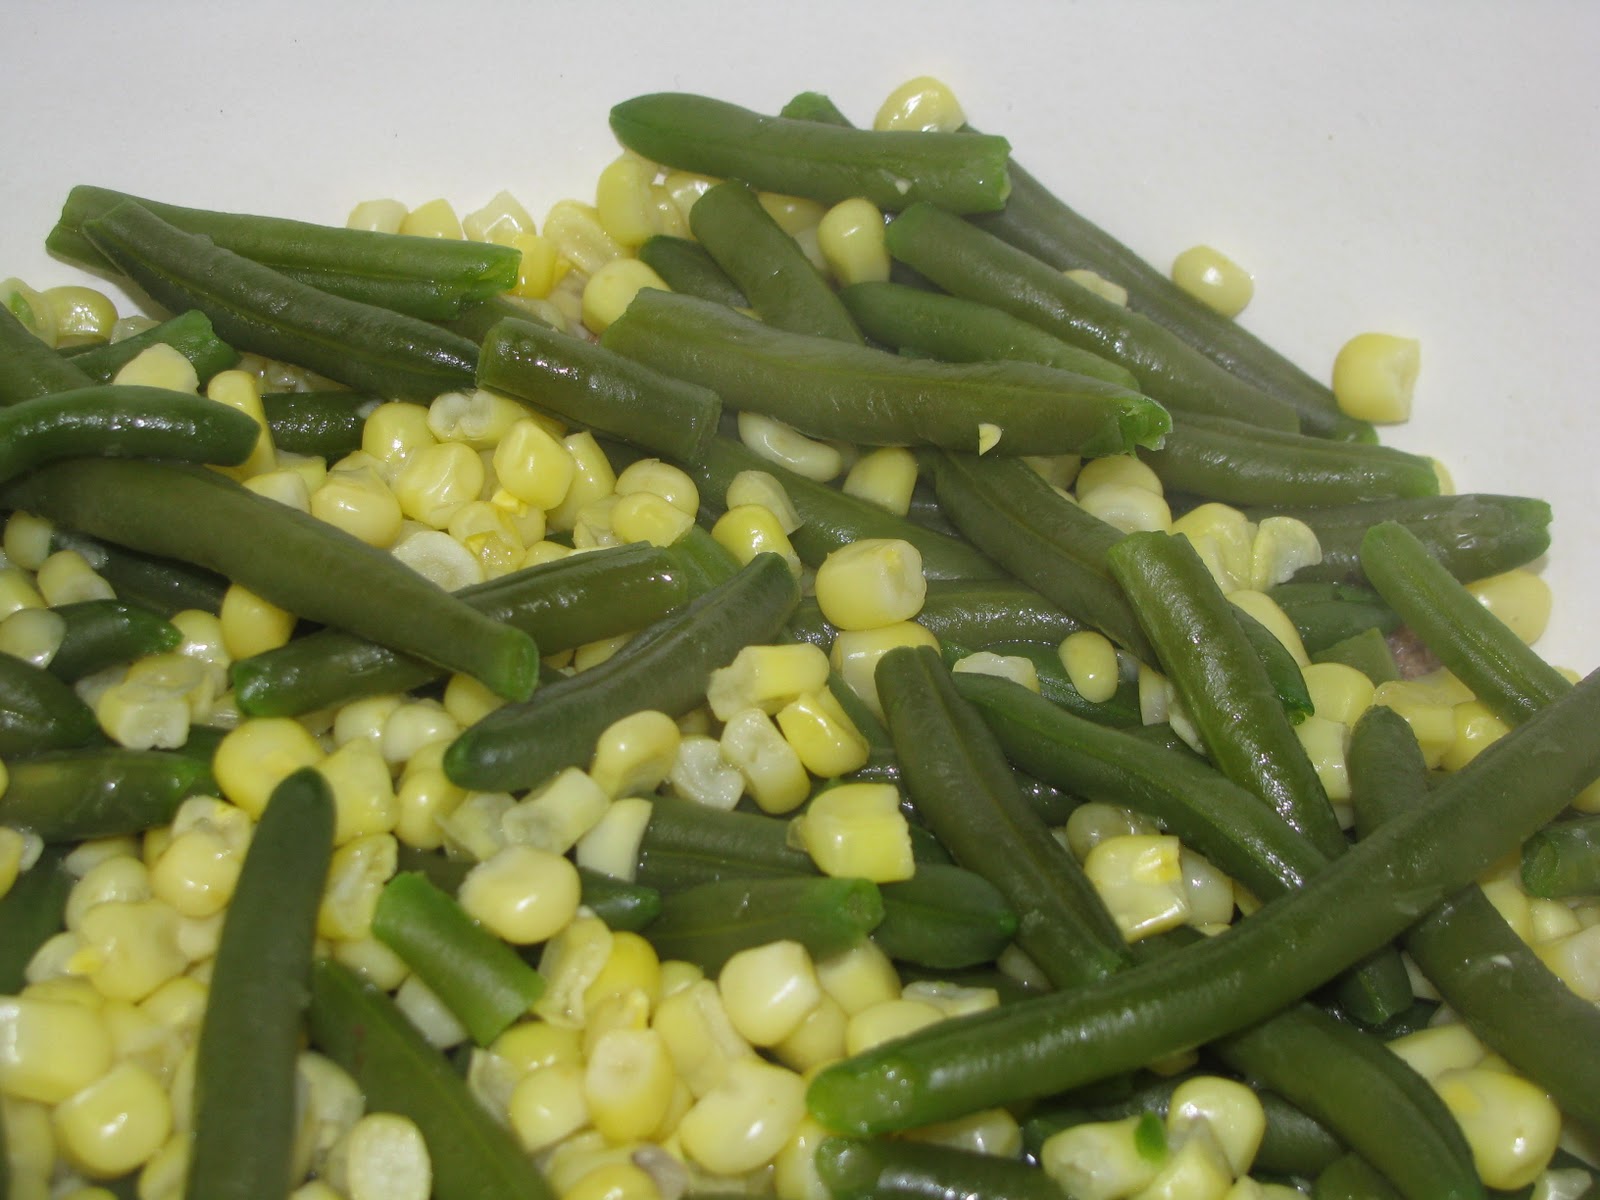
Also put the beans and corn in a sauce pan with water and bring to boil. When they come to a boil boil for about two minutes and remove from heat.
When potatoes are soft, drain and mash with butter, milk, and a little salt.
Now that all of the food is cooked and hot you will layer it in a 9x13 baking dish or crock pot. Begin with the ground beef.
 Then drain the beans and corn and spread them on top of the meat.
 Now slowly pour the tomato soup over the top trying to evenly cover the meat and veggies.
 Now according to my hubby it is crucial that you do not spread the potatoes, you must glob them on spoonful at a time. Again do not spread!
 Then top with cheese and place in oven. If you got it in the oven while everything was still piping hot then you just need to melt the cheese but if it cooled off a bit you may want to cover with tin foil and bake for twenty minutes or so.
You will need:
6 large potatoes
1 lbs ground beef
garlic powder
pepper
salt
3 Tbs. butter
1/4 cup milk
3 cups frozen green beans
2 cups frozen corn
2 cans tomato soup
1 cup cheese, shredded
Preheat oven to 400.
Begin by cubing the potatoes then place in large pot of water on stove and bring to boil.
Brown the ground beef with seasonings.
Also put the beans and corn in a sauce pan with water and bring to boil. When they come to a boil boil for about two minutes and remove from heat.
When potatoes are soft, drain and mash with butter, milk, and a little salt.
Now that all of the food is cooked and hot you will layer it in a 9x13 baking dish or crock pot. Begin with the ground beef.


What I've Been Doing Instead of Cooking...
My life has felt a bit odd the last little while, I've been spending a lot of my time refinishing my kitchen chairs and not cooking. I did finally break down Sunday after spending all day outside in shorts in the beautiful sun and warm weather preparing our garden, helping my husband finish the Hen House (for our chickens), and finishing a chair, I baked a Chocolate Zucchini Cake. The feeling of summer was in the air and the taste of that cake was in my mouth. Thank goodness I put some up last summer for the these kind of emergencies. I will be posting this recipe for you to drool over until you make it, but first I am going to show you a preview of what I've been up to...


This is where I found the idea & confidence to paint and glaze my chairs Spunky Junky.
And this is what project I want to make next... A Wrestling Buddy!!! for my little Chair Model.


My very helpful model, he makes the chairs look SO much better don't you think?


I have one more chair to do, not sure what color yet. Probably a burnt orange or mustard color, what do you think? I'm always open to you're input!This is where I found the idea & confidence to paint and glaze my chairs Spunky Junky.
And this is what project I want to make next... A Wrestling Buddy!!! for my little Chair Model.
It is such a brilliant idea and SO CUTE! I think this would make such a great birthday present for my sons friends as well.
Monday, March 7, 2011
"Comfort Basket"
My dear sister in law's mom passed away this last week. My husbands family wanted to do something for her, my bro in law, and the little hooligans and also her dad, but didn't really want to do the flower thing... So we came up with this idea.
This first basket is for her dad that is a diabetic. We tried to find "good" individually wrapped snacks for him.

All of the hard candy on the bottom is sugar free.

And this one is for the not so diabetic... As you will see


So here is how we decided to put it all together:
First decide on you basket and buy all of your "comfort" food and snacks. You will also need green floral foam, shredded paper you know the kind you fill baskets with, wooden skewers, & a hot glue gun with plenty of extra sticks. You can't see but both of these baskets have a 2 liter bottle of soda in the back.
Place the foam in the bottom of the basket. You may need to cut it with a kitchen knife to get it to fit properly with the shredded paper over the top then glue some of your larger items to a skewer and stick them in the foam. You can then fill in any holes with smaller items. We then dropped our small hard candies on top of the shredded paper, which really put the finishing touch to the basket.
We also decided something like this would be such a cute Center Piece for any party!!!
Saturday, March 5, 2011
Spunky Junky Link Up Party
Go and check out this Link Up Party, it is so much fun and has some amazing ideas. Love it! Oh and Im #16.
http://spunkyjunky.blogspot.com/2011/03/feature-friday-linky-up-party.html
http://spunkyjunky.blogspot.com/2011/03/feature-friday-linky-up-party.html
Subscribe to:
Posts (Atom)